As an Amazon Associate I earn from qualifying purchases.
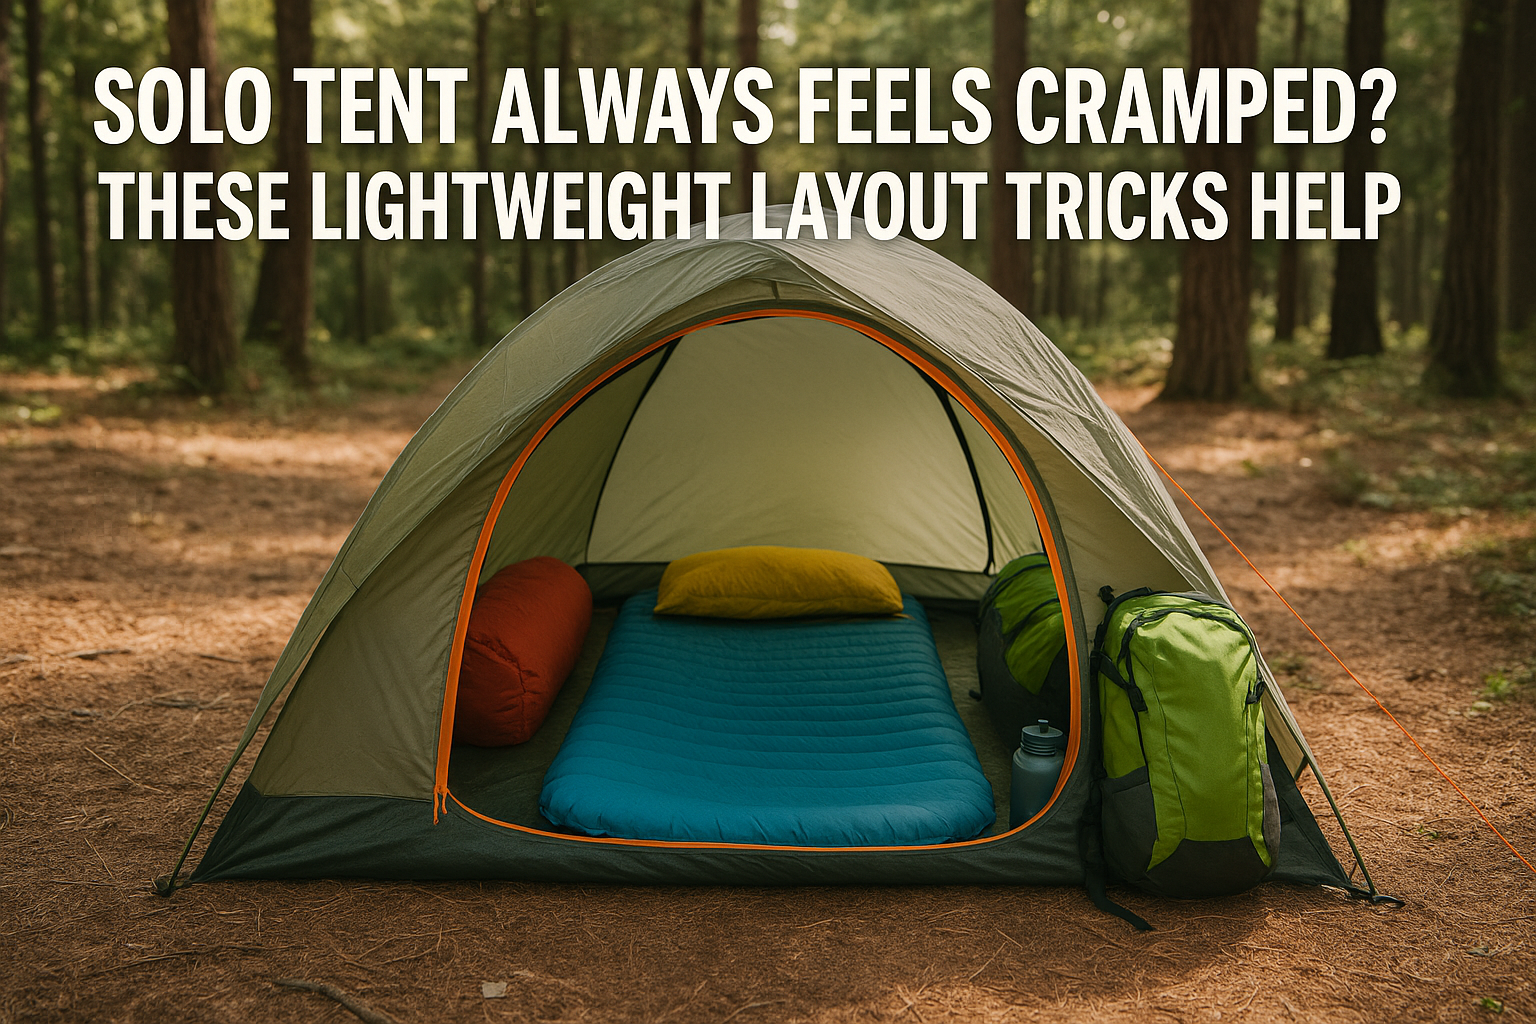
Your one-person tent might technically fit your gear and your body—but if you’ve ever zipped it shut and felt like a sardine in a nylon tin, you’re not alone. Claustrophobia, gear clutter, and poor layout choices turn what should be your rest zone into a stressful, cramped mess.
But here’s the good news: You’re not stuck with that tight feeling.
With smarter layout strategies borrowed from thru-hikers, survivalists, and minimalist backpackers, you can transform even the most compact tent into a functional, breathable space.
Why Cramped Spaces Drain You Mentally (and Physically)
A confined shelter affects more than your comfort—it alters your mental state. Cramped tents can:
- Increase anxiety and restlessness
- Prevent quality sleep due to visual clutter
- Limit gear access, slowing your response in emergencies
- Lead to small repetitive injuries (stubbed toes, bruised knees)
When you’re out in the wild, your tent isn’t just a shelter—it’s your home base, your recovery chamber, your sanctuary. The way it’s organized directly impacts your survival mindset.
So how do ultralight experts manage to thrive in tiny shelters night after night?
Let’s get into the real tricks they use.
1. Map the Human Zone First (Then Fit the Gear Around It)
Before you even think about where to stash your gear, define your movement space.
Lay down in your tent and stretch:
- Side to side (elbow room)
- Top to bottom (headroom + toe flex)
- Sit up (for changing, writing, emergencies)
Now draw an imaginary “U” shape around your body. This is your human zone. No gear goes in it—ever. This is your sacred movement area, designed to protect your physical and mental comfort.
Once this is carved out, everything else can rotate around it.
2. Vertical Thinking: Use the Walls and Ceiling
The floor isn’t the only space in your tent. Here’s how to use overlooked zones:
- Ceiling loops: Clip a mini gear loft or a mesh pouch to store light items (headlamp, map, GPS, glasses).
- Sidewall pockets: Use ultralight stick-on mesh pouches (weighing <1 oz) to hold hygiene items, bug wipes, or snacks.
- Clothesline trick: A paracord line across the ceiling doubles as:
- A drying rack for damp socks or gloves
- A quick-access sling for daily-use gear
- A support for hanging light sources to free up ground space
🖼️ Insert Image Here: Overhead view of a solo tent interior using ceiling loops and wall pouches for storage.
3. Invest in Dual-Purpose Gear (That Also Stores Gear)
If your gear only serves one job, you’re wasting potential.
Smart ultralight campers favor:
- Inflatable pillow + gear sack combos (turn your clothing bag into a sleep pillow)
- Sit pad that doubles as a mattress extender
- Ultralight dry bags that also serve as:
- Food hang bags
- Camp pillows
- Gear organizers
This doesn’t just lighten your pack—it gives each item multiple lives within the shelter itself, reducing loose clutter.
4. Create Gear Zones Like a Survivalist
A scattered layout = panic in an emergency.
Break your shelter into micro-zones:
- Foot zone: Dirty or less-used gear (boots, extra water bottle, trash bag)
- Side zone (dominant hand): Nighttime essentials (knife, headlamp, bear spray)
- Head zone: Light source, navigation, med kit
- Under-sleep pad: Flat, low-profile items (maps, backup ID, extra cash)
Think of this like a cockpit—not because it looks neat, but because in a pinch, you know where everything is in the dark.
5. Go Modular with Ultralight Gear Pods
Instead of one big gear pile, modularize your setup:
- One pod for sleep (eye mask, socks, meds)
- One pod for cook gear (spork, fuel tabs, lighter)
- One pod for electronics (battery pack, cords)
- One pod for emergencies (med kit, emergency blanket, flares)
These pods can be 1L or 2L dry sacks, color-coded or labeled by feel.
🖼️ Insert Image Here: Four color-coded ultralight pouches spread out inside a solo tent.
Bonus: If you ever need to pack out in a rush, you won’t forget anything. Just grab the pods.
6. Use “Float” Zones for Day-to-Night Shifts
Certain gear is only needed at night—like your sleep socks or earplugs. Others are only used during the day—like your navigation kit.
Set up a float zone—a small pouch or corner that rotates its use from day mode to night mode. This keeps your essentials in one place, but never overcrowds it.
Example:
- Daytime: This pouch holds sunscreen, compass, water tablets
- Nighttime: Same pouch now holds a headlamp, sleep socks, and chapstick
This keeps your system lean, but adaptive—just like your brain needs it to be.
7. Pack by Task, Not By Category
Traditional packing says “put all your clothes together, all your tools together.” But in a solo tent, you want to think in scenarios, not categories.
Instead of a “clothing bag,” create:
- Sleep system pack (sleep socks, thermal top, inflatable pillow, eye mask)
- Cold-start kit (gloves, beanie, breakfast bar, matches—right at your fingertips)
When a cold morning hits or a midnight storm rolls in, you’ll thank yourself for packing like a chess player, not a librarian.
8. Psychological Expansion Hacks
Your mind needs breathing room—even if your shelter has none.
Use these tricks to “open up” your space mentally:
- Reflective light: Aim your headlamp at a light-colored ceiling pouch. This diffuses light instead of spotlighting cramped corners.
- Scent zones: Place a peppermint lip balm or eucalyptus wipe near your pillow. Smell is one of the fastest ways to alter brain states. Use it to “reset” your tent vibe after a hard hike.
- Visual order: Neatness isn’t about aesthetics—it helps your brain unwind. A visually calm layout = better sleep = better survival mindset.
9. Emergency Exit Strategy Built-In
Never pack in a way that traps you.
In storm season, wildlife areas, or high wind zones, always keep:
- Shoes within reach of your left hand
- Knife or spray near your right hand
- Headlamp clipped overhead and turned outward
Think of your gear layout like a cockpit in a blackout. Your brain should know exactly where to reach before your eyes even open.
10. Pre-Pack Morning Gear the Night Before
The last thing you want to do at 5am is fumble for layers in the cold.
Pack your morning:
- Put breakfast and stove at arm’s reach
- Lay out your base layer socks and shirt
- Set a hot drink mix inside your cook pot
This turns a cramped morning into a smooth launch—which matters when your body’s stiff and your brain’s foggy.
Final Thoughts: Cramped Isn’t a Curse. It’s a Challenge to Outthink.
Most campers blame the size of their tent.
But space isn’t your real problem—your layout is.
A cramped tent can still feel like a sanctuary if you design it with intention, modularity, and survival fluidity in mind. These aren’t just “neat ideas”—they’re mindset and movement upgrades built for real-world discomfort.
Because the most efficient shelters aren’t the biggest.
They’re the smartest.
✅ Quick Recap:
- Define your human zone before placing gear
- Use vertical space with pouches, paracord, and lofts
- Choose dual-purpose gear with storage benefits
- Create cockpit-like layout zones
- Pack for tasks, not categories
- Use light, scent, and order to mentally expand space
- Always plan an emergency exit path
- Pre-pack for mornings to start smooth, not stressed
🛒 Recommended Gear:
- Ultralight Dry Bag Set – Color-Coded 1L to 5L
- Clip-on Tent Organizer Pouch
- Inflatable Pillow + Gear Sack Combo
- Mini Gear Loft for 1P Tents