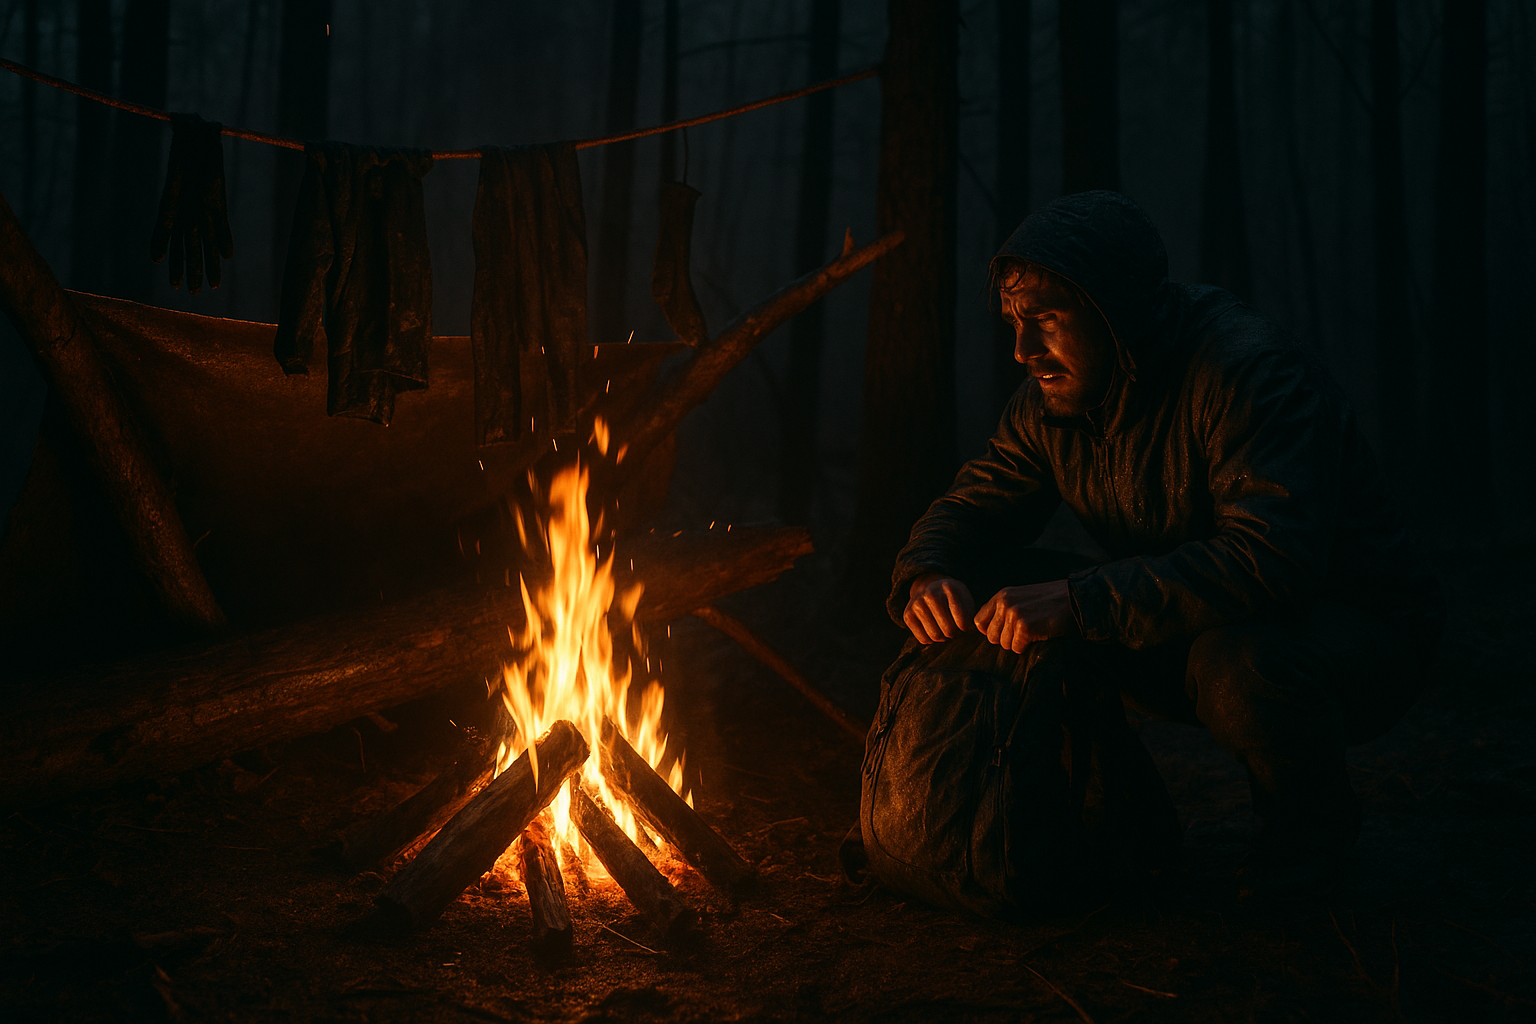
You’re deep in the wilderness, miles from any shelter. A sudden storm drenches your gear—your jacket, socks, sleeping bag—all soaked through. The campfire crackles, but you know better than to hang your gear directly over it. One misstep, one stray ember, and your life-saving layers could go up in flames.
What do you do?
This isn’t just about discomfort—it’s about survival. Wet gear in the wilderness spells hypothermia, infection, and a quick spiral into danger. But you’re not giving up. You have a clothesline, a campfire, and the raw ingenuity to turn the tables.
This post will show you how to rig a clothesline beneath a campfire reflector to harness the heat safely, drying your essentials fast and preserving your gear—without risking a catastrophic flare-up.
 Why Direct Heat Is Dangerous for Wet Gear
- Flammable materials (synthetics, down) ignite easily when exposed to flames or sparks.
- Too-close proximity leads to melting, scorching, or even dangerous fumes.
- Over-drying or uneven heating damages waterproof coatings, insulation, and stitching.
You need controlled, indirect heat—and that’s where a campfire reflector comes into play.
 Step 1: Build a Safe, Efficient Campfire Reflector
A campfire reflector bounces radiant heat toward your drying setup, concentrating warmth while deflecting flames and sparks. Here’s how to make one:
- Find large, flat rocks, a sturdy log, or construct a simple wall of green (non-flammable) logs or wet branches behind your fire.
- Position the reflector on the side opposite the fire, angled slightly to direct heat upward and toward your drying line.
- If possible, line the inside with foil or a reflective survival blanket for maximum efficiency.
Step 2: String the Clothesline Beneath the Reflector’s Heat Zone
- Locate two stable anchor points (trees, sturdy branches, or even stakes) behind the fire and reflector.
- Thread your clothesline or reflective paracord between these points, ensuring it’s low enough to catch the rising heat but high enough to avoid direct flame exposure.
- Aim for 2–4 feet above the fire, adjusted based on the fire’s size and intensity.
Step 3: Attach Wet Gear Strategically
- Wring out excess water from gear before hanging—less moisture equals faster drying.
- Hang critical items first: base layers, socks, gloves, and other essentials.
- Use carabiners, clothespins, or simple knots to secure items evenly spaced along the line.
- Avoid bunching or overlapping, which traps moisture and slows drying.
Step 4: Control the Fire for Steady Heat
- Build a small, steady fire—enough to generate heat without roaring flames.
- Feed the fire with slow-burning fuel (hardwood if available) to maintain consistent warmth.
- Monitor the fire closely—never leave it unattended, especially with drying gear nearby.
Step 5: Maximize Efficiency Without Risk
- Rotate gear periodically to ensure even drying.
- If available, place a reflective Mylar blanket above or behind the clothesline to concentrate heat.
- Use windbreaks to prevent gusts from disrupting the line or blowing sparks.
 Improvised Reflector Hacks
- No rocks? Use a fallen log, positioned upright as a heat reflector.
- No Mylar? Use a pot lid or a flat, wet bark panel as a makeshift heat shield.
- No cordage? Improvise with shoelaces, tent guylines, or even twisted vines (ensuring they’re non-flammable).
 Field-Tested Scenario: The Drenched Mountain Ascent
During a high-altitude trek in the Rockies, a sudden storm caught a solo backpacker off guard. His jacket and sleeping bag were soaked. Knowing the dangers of hypothermia, he rigged a campfire reflector with stacked wet logs, then threaded his reflective clothesline between two trees, positioning it behind the reflector and fire. His critical gear dried overnight—not too fast, not too slow—and he stayed warm and alive.
 Why This Method Beats Direct Drying Over Flames
| Method | Pros | Cons |
|---|---|---|
| Reflector Clothesline Setup | Controlled heat, minimal flame risk | Requires setup time and materials |
| Direct Over-Fire Drying | Fast (if not careful) | High risk of burning or melting gear |
| Scattered Gear Around Fire | Low-effort | Uneven drying, trip hazards, spark risk |
| Sun Drying (if available) | Safe, natural | Impossible in rain or fog |
 Essential Gear to Pack (Available on Amazon)
 Sea to Summit Lite Line Clothesline – Compact, adjustable, and durable. Reflective Paracord 550 – Strong, versatile, and visible at night. Emergency Mylar Blanket – Reflective and heat-concentrating. Carabiners or Gear Clips – For secure, fast attachments. Fire-Starting Kit – Reliable ignition source for campfires.
Pro Tips for Survival Drying
- Build your campfire and reflector before nightfall—don’t wait until you’re wet and cold.
- Never leave gear unattended—one shift in wind direction can send sparks flying.
- Use the fire’s coals for steady, low-heat drying if you can’t maintain an open flame.
- Pair this technique with odor-proof bags or dry sacks to keep dried gear safe afterward.
 Bonus Hack: The Clothesline-Reflector “Tunnel”
For extra efficiency, create a “tunnel” effect:
- Position the clothesline parallel to the reflector, forming a narrow corridor of warm air.
- Hang a Mylar blanket or tarp above the line, sloped toward the fire but clear of direct heat.
- This concentrates warmth around the gear, mimicking a mini drying room in the wild.
 Conclusion: Dry Gear Saves Lives
When you’re soaked in the wilderness, every decision matters. Rigging a clothesline beneath a campfire reflector isn’t just a clever trick—it’s a vital survival strategy. It harnesses the life-saving heat of your fire without the risk of damaging your gear, buying you time and warmth when you need it most.
Don’t leave survival to chance. Practice this setup before you need it—your life could depend on it.