It’s Your Worst Nightmare: A Snake Has You Pinned Mid-Trek
You’re trekking through a sun-blasted gorge, dust rising with every footstep. Suddenly, searing pain grips your calf—fangs embedded. You realize you’ve been bitten, and the snake isn’t letting go. No cellphone service. No one within shouting distance. It’s a fight for time.
This isn’t the moment to rely on folklore. It’s time to act with field-tested gear and tactics that give you the edge to survive.
Deploying an Emergency Tourniquet—The Right Way
Forget the old myths of tight bands and tourniquets as a first step. In a snake bite scenario where the snake is still latched or retreating after a strike, use a precision tourniquet designed for field use—but only if you’re immobilized and rescue is distant.
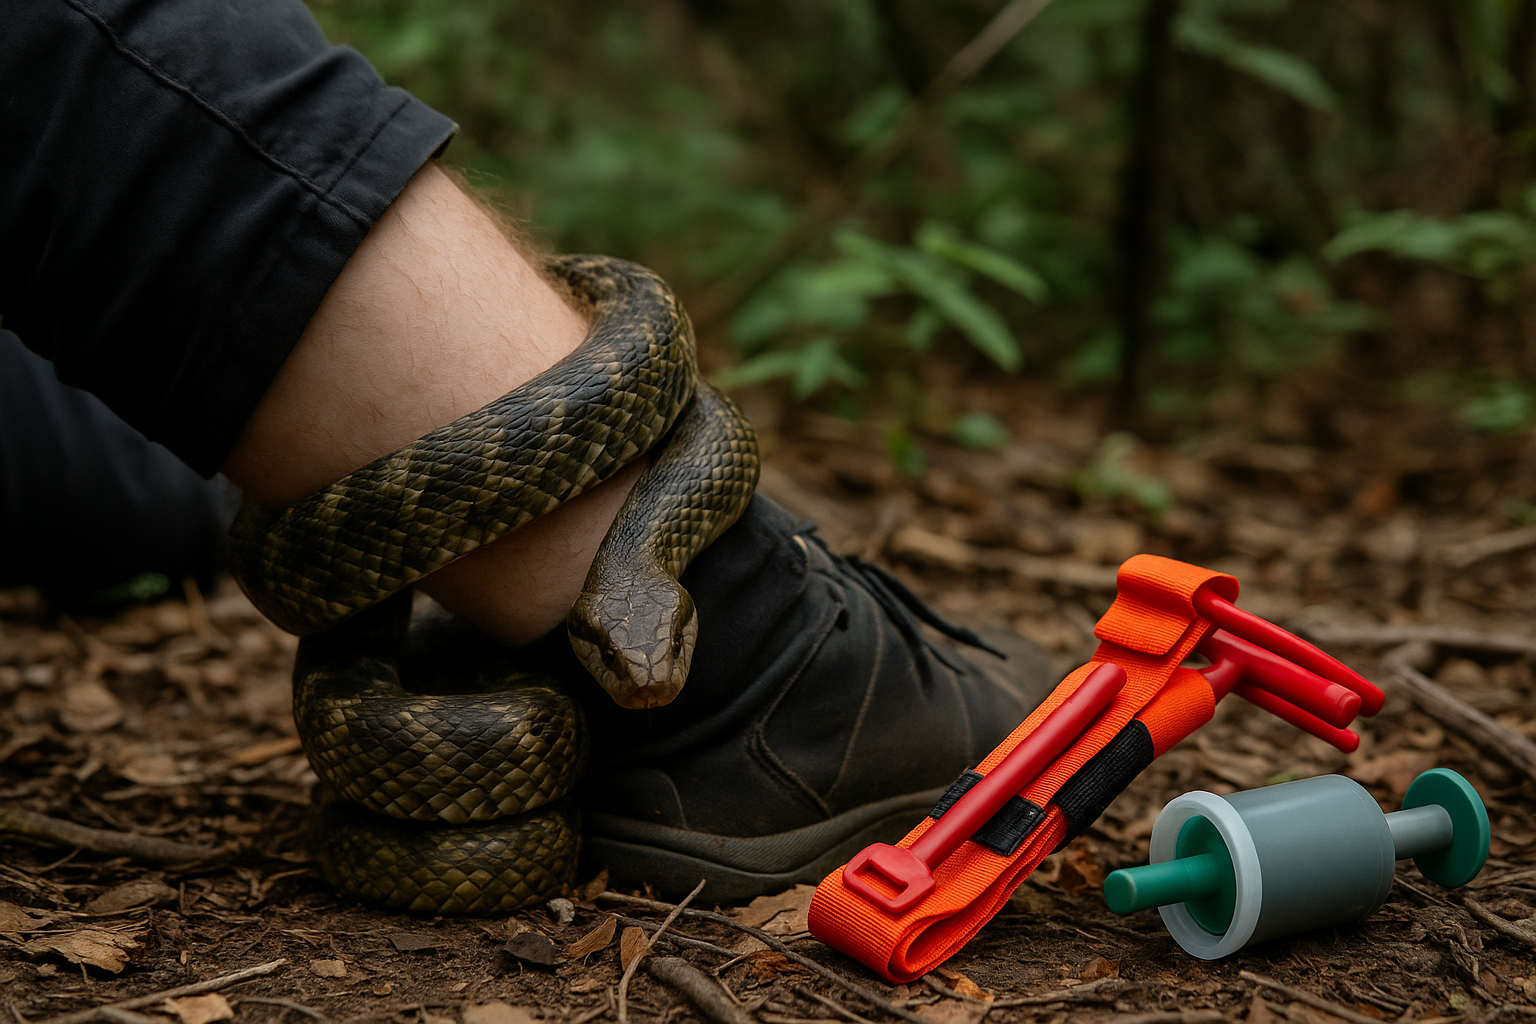
✅ Choose a lightweight tactical tourniquet (like the CAT Gen 7, available on Amazon) that allows one-handed application.
✅ Apply above the bite site—never on joints—and just tight enough to slow venous flow without cutting arterial circulation.
✅ Mark the time you applied it using a marker or improvised tool.
A tourniquet buys you time to either self-rescue or prepare for assisted evacuation. It’s not a solution, but a calculated risk to prevent venom spread.
Suction Devices: Use with Caution and Precision
Commercial suction kits (like the Sawyer Extractor, available on Amazon) can be a controversial tool, but in an emergency with no immediate rescue, they might reduce the venom load if used within the first few minutes.
✅ Position the suction cup directly over the bite site and begin extraction immediately.
✅ Keep suction steady for no more than 15 minutes to avoid tissue damage.
✅ Hydrate and remain as still as possible to reduce venom circulation.
Never cut or suck the bite manually—it introduces infection risk and is ineffective.
Improvised Hacks: If You Have No Tourniquet or Suction Kit
Caught off guard without the gear? Improvise:
🪢 Tourniquet: Use a wide belt, climbing sling, or even a folded bandana. Create a loop, insert a stick or sturdy object, and twist until snug. Secure with a knot.
🪝 Suction: Lacking a kit? Don’t attempt DIY suction—it’s more harmful than helpful. Instead, use cold compresses (wet bandana cooled with stream water) to slow venom absorption and reduce swelling.
Positioning: Keep the Bite Below Heart Level
Once initial measures are taken:
🧍♂️ Stay calm and reduce movement—the more you move, the faster venom spreads.
🧎♂️ Keep the bitten limb below heart level to slow venom travel.
🛑 Don’t apply ice or alcohol—it worsens tissue damage.
Stealth Tactics: Low-Visibility Gear in Snake Country
If trekking in snake-prone areas, especially solo, consider packing low-profile, stealth-colored tourniquets and suction kits to avoid alerting wildlife or other threats. Black, olive drab, or camo gear blends into natural terrain while providing lifesaving utility.
Field-Tested Recommendations (Amazon-Available)
- CAT Gen 7 Tourniquet – Tactical tourniquet designed for one-handed use, durable, and trusted by professionals.
- Sawyer Extractor Pump Kit – Compact venom extractor, ideal for snake bites if used immediately.
- Recon Medical Tourniquet Holder – Secure, low-visibility pouch for rapid deployment.
Field Tip from Real Trekkers
“I always pack a CAT tourniquet on solo treks. It’s not just for snake bites—one time I used it to stabilize a friend’s broken arm until help arrived.”
Conclusion: Time is Venom—Buy It Wisely
In a snake bite emergency, you’re racing against the clock. Smart use of tourniquets and suction gear—plus improvised hacks—can buy you precious time before medical intervention. Don’t let panic dictate your response. Pack right, plan for the worst, and keep your head in the game.