The rain started as a drizzle, but by the time you noticed the river rising, it was too late. The ground is soggy, water creeping closer to your camp. Your gear—food, clothes, sleeping bag—is at risk of being swallowed by rising floodwaters. Every minute counts, and you don’t have time to relocate to higher ground.
This isn’t just inconvenience. Wet gear means ruined supplies, risk of infection, and a direct threat to survival.
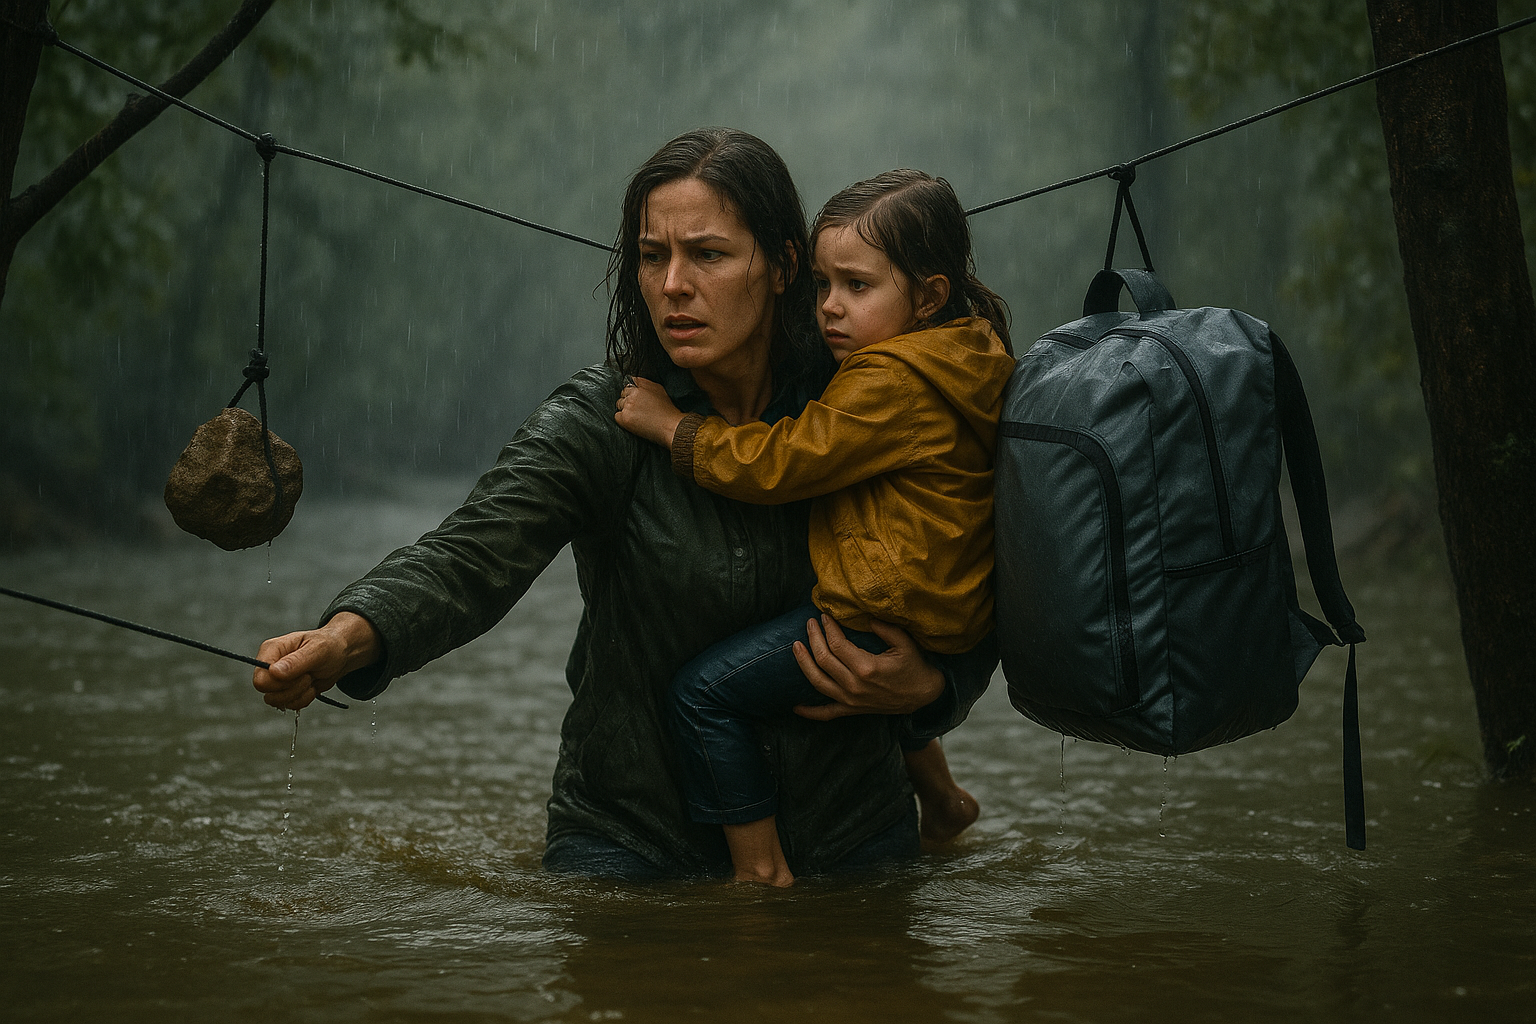
But there’s hope. With a clothesline, a heavy rock, and a few field-smart tactics, you can rig an emergency gear suspension system that lifts your essentials safely above the floodwaters—even in the middle of a wilderness crisis.
🌊 Why Floodwaters Demand Immediate Action
Flooding during a storm can:
✅ Submerge gear within minutes.
✅ Contaminate supplies with debris and bacteria.
✅ Create dangerous currents, sweeping away unsecured items.
✅ Soak fire-starting gear and warm layers, leading to hypothermia.
🪢 The Ingenious Clothesline Rock-Counterweight System
This method lets you hoist gear high, using natural anchors and a rock counterweight to create a pulley-like lift—even when no trees or high ground are available nearby.
🪢 Step 1: Identify a Strong Overhead Anchor Point
- Look for a sturdy tree limb, beam, or natural outcrop above the rising waterline.
- If no high points are available, use a tripod of sticks or a makeshift pole wedged between rocks.
🪢 Step 2: Prepare the Clothesline
- Use a strong clothesline or reflective paracord, at least 15–20 feet long.
- If needed, splice multiple lengths of rope together with square or fisherman’s knots.
- Check for fraying or weak spots—this setup will bear weight.
🪢 Step 3: Create the Suspension Line
- Tie one end of the clothesline securely to your overhead anchor.
- Thread the free end through a carabiner, loop, or even a simple overhand knot tied to your gear bag or food sack.
- Pull the free end to hoist the gear as high as possible, lifting it well above the expected water rise.
🪢 Step 4: Use a Rock Counterweight for Tension
- Tie a sturdy rock (or a bag filled with stones) to the free end of the clothesline.
- Let the weight of the rock pull the line taut, holding your gear securely in place even as the water rises.
- Adjust the tension by adding or removing weight, ensuring the gear stays elevated without slipping.
🪢 Step 5: Secure and Protect Gear
- Double-wrap gear in dry bags or odor-proof sacks to protect against moisture and wildlife.
- If possible, tie the gear bag to multiple lines for stability, preventing it from swaying or falling.
- Hang critical items first—food, water, fire-starting kits, dry clothes.
🌊 Field-Tested Improvisations
- No natural anchor? Drive three sturdy poles into the ground and lash them together to form a tripod, then tie the clothesline to the apex.
- No carabiner? Use a strong loop knot around your gear bag handle or tie directly to the bag’s strap.
- No suitable rock? Use a water-filled container, a filled dry bag, or a bundle of wet wood as a counterweight.
- High winds? Secure the line with extra guy lines to reduce swaying.
🏕️ Real-Life Scenario: Flooded Backcountry Camp
In 2021, a backpacking duo camping along a remote river woke to water surging into their campsite. Without trees nearby, they used their tent poles as a makeshift tripod, tied their reflective clothesline to the apex, and filled a dry bag with rocks for counterweight. Their critical gear stayed dry and safe above the floodwaters, allowing them to hike out once the storm subsided.
📊 Why This Beats Standard Gear Stashing
| Method | Pros | Cons |
|---|---|---|
| Clothesline Rock-Counterweight Setup | Hoists gear high, works without high trees | Requires line and weight, setup effort |
| Gear on High Ground | Quick, no setup | Useless in sudden floodwaters |
| Tree Hangs | Simple, if trees are present | Often impossible in flood zones |
| Backpack on Ground | Easiest, no setup | High risk of flooding, damage |
🎒 Essential Gear to Pack (Available on Amazon)
✅ Sea to Summit Lite Line Clothesline – Lightweight and strong.
✅ Reflective Paracord 550 – Durable, multi-use survival line.
✅ Dry Bags with Roll-Top Seals – Essential for waterproof storage.
✅ Carabiners or Gear Clips – Quick and secure rigging.
✅ Emergency Mylar Blanket – Useful for creating an overhead shelter or ground cover.
🛠️ Pro Tips for Success
- Practice rigging this system at home, so you’re ready in a real emergency.
- Keep the counterweight line free from obstructions to allow smooth lifting and lowering.
- Double-bag essentials to protect against water seepage and animal interference.
- Tie reflective tape or glow sticks to the line for easy location in low light.
🔥 Bonus: Combine with a Campfire Reflector
If the floodwaters force you to higher ground with minimal cover, consider pairing this setup with a campfire reflector (if safe to build one). Position your suspended gear nearby, within a safe heat radius, to gently dry wet items while keeping them elevated and away from wildlife.
🌲 Conclusion: Stay Dry, Stay Alive
When floodwaters rise, every second counts. Scattered gear becomes lost, soaked, and dangerous. But with a simple clothesline, a rock counterweight, and a touch of survival ingenuity, you can create a makeshift suspension system that lifts critical gear to safety, keeping it dry, accessible, and secure.
Don’t wait for the storm to teach you. Practice now—and when the waters rise, you’ll be ready.