You hear it first: the telltale tap-tap-tap of rain on nylon, a sound that usually brings comfort. But then comes the sickening realization—the seams are leaking. Your sleeping bag is damp. Your socks are soaked. The roof of your shelter—your last line of defense—is failing.
In a real emergency, this isn’t just uncomfortable—it’s dangerous. Hypothermia sets in when wet clothes leech away precious body heat, even in mild temperatures. You could be facing a night shivering in damp layers, or worse, a slow decline into life-threatening cold.
But there’s a way to fight back—using the humble clothesline, tent loops, and a touch of wilderness ingenuity. This post will walk you through creating an interior drying web inside your compromised shelter, using gear you already have, to keep yourself dry and alive.
The Dangers of a Wet Shelter: Why You Can’t Ignore Leaks
A leaking tent isn’t just a nuisance—it’s a direct threat to your survival:
✅ Wet clothes accelerate heat loss by up to 25 times compared to dry fabric.
✅ Saturated sleeping bags lose insulation and trap moisture, creating a dangerous cycle of cold.
✅ Prolonged wet exposure increases the risk of trench foot, blisters, and fungal infections, especially in remote locations.
When your shelter fails, immediate action is key.
MacGyver Your Way to Dry: The Emergency Drying Web
This technique turns your compromised tent into a makeshift drying room, leveraging your clothesline and the built-in loops of your tent for a high-efficiency moisture barrier. Here’s how to pull it off:
🪢 Step 1: Identify Strong Tent Loops and Points
- Most tents have internal loops or tabs near the ceiling or along the poles—originally intended for hanging lanterns or gear pockets.
- Locate the highest and most secure loops, especially near the apex of the tent where gravity and rising heat can aid drying.
- In dome-style tents, look for corner reinforcements where you can tie off lines.
🪢 Step 2: Thread Your Clothesline or Paracord
- Thread a clothesline through the loops to create a crisscross web.
- Pull it taut to form multiple drying lines at different heights—like a miniature laundry room suspended inside your shelter.
- If your clothesline is too short, splice with shoelaces, tent guy lines, or even belt straps to extend its reach.
🪢 Step 3: Maximize Airflow and Minimize Drip
- Position the web lines higher inside the tent, ideally near the apex, where warmer air will naturally rise.
- Avoid blocking ventilation points—if your tent has mesh panels or vents, make sure air can circulate to aid evaporation.
- Place a ground tarp or survival blanket under the web to catch drips and protect your sleeping area.
🪢 Step 4: Hang Essential Layers Strategically
- Prioritize critical clothing items—socks, base layers, gloves—anything that directly touches skin.
- Wring out excess water by hand, then hang items so they aren’t touching each other for maximum airflow.
- For heavy items like jackets or pants, tie a second clothesline lower to support weight and prevent sagging.
🪢 Step 5: Add Heat (Safely)
- Use body heat: Sit or lie beneath the drying web, generating warm air currents that rise and accelerate drying.
- Emergency candle or tealight lantern (if safe and ventilated) can add warmth, but never leave it unattended.
- Reflective emergency blankets hung behind the drying web can concentrate radiant heat.
Field-Tested Improvisations
- No tent loops? Clip carabiners or safety pins to tent seams, then thread the clothesline through them.
- Tent too small? Create a mini drying rack from trekking poles inside the vestibule or porch area.
- High winds? Reinforce the clothesline with extra lashings to prevent snapping under tension.
- Extreme cold? Hang a foil survival blanket inside the tent to create a double-layer effect that retains heat while moisture escapes.
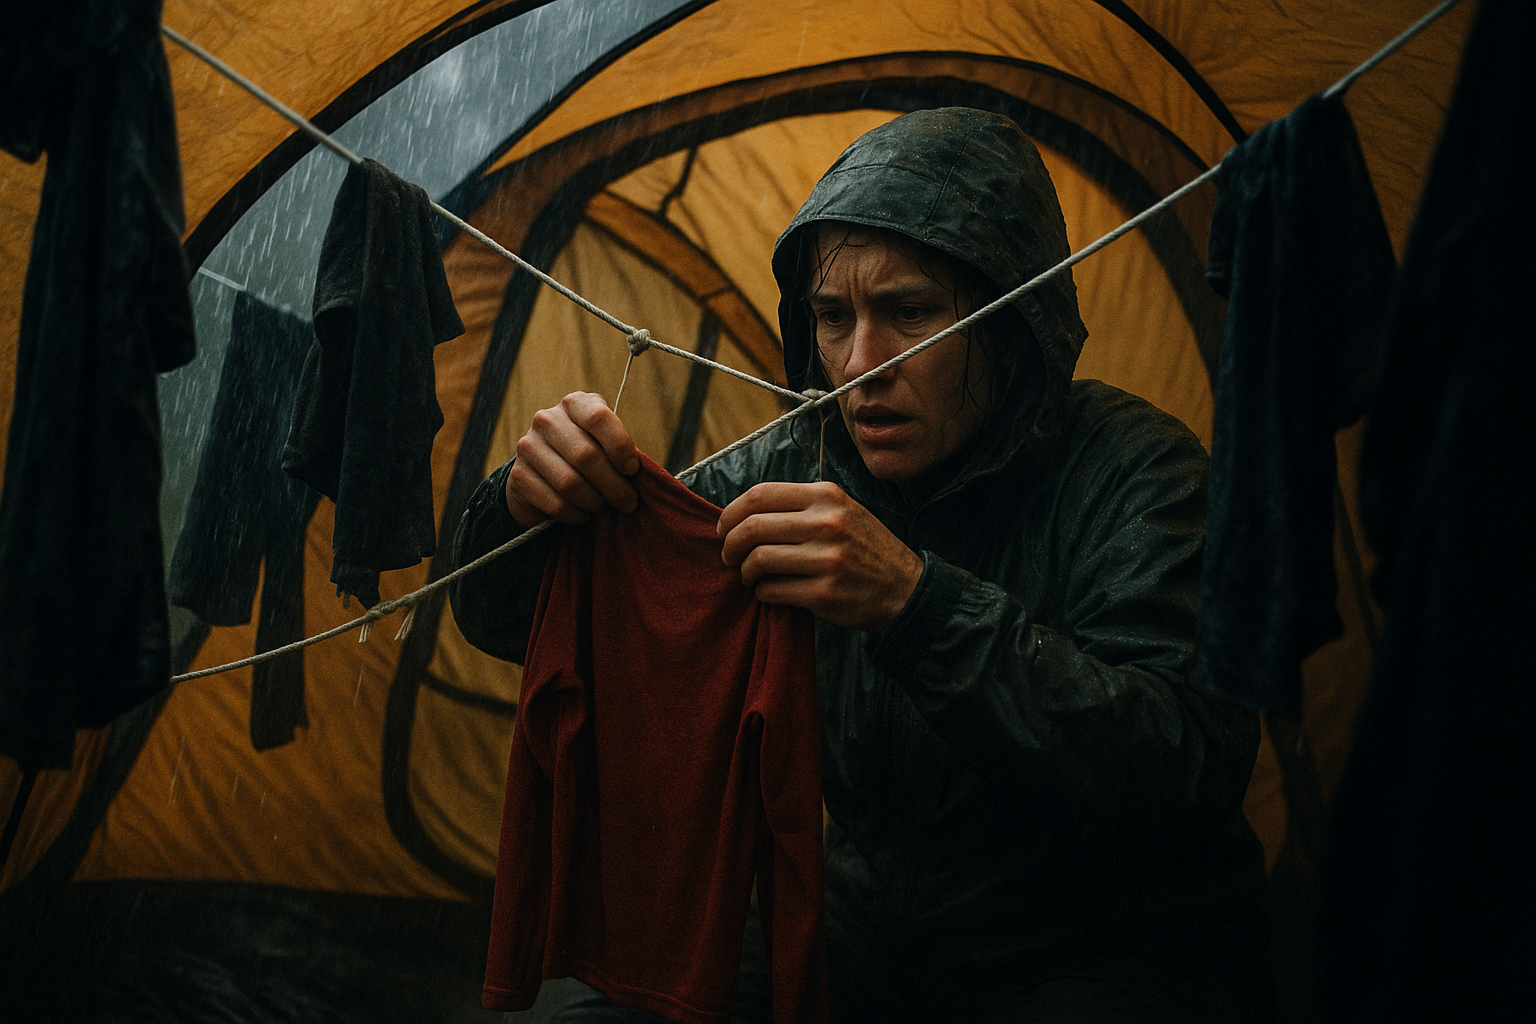
Real-Life Scenario: Rainstorm on the Ridgeline
I’ll never forget the night I camped on a remote ridgeline during a freak downpour. My budget tent’s seam tape failed, and within minutes, water seeped in from the corners and dripped from the ceiling. My sleeping bag was soaked, and the temperature was dropping fast.
I rigged a web of paracord through the inner loops, tied my base layers and socks to the lines, and used a reflective blanket to trap my own body heat. By dawn, my essential gear was dry enough to wear, and I made it out safely. Without that improvised drying web, I could’ve faced severe hypothermia.
Comparison Table: Interior Drying Web vs. Standard Options
| Method | Pros | Cons |
|---|---|---|
| Interior Drying Web | Works inside any tent, field improvisable | Needs gear (cord, loops), set-up effort |
| Hang Outside (tree/line) | Better airflow, full sun | Useless in rain, high winds |
| Use Gear Pockets | Limited space, not designed for drying | Low capacity, poor airflow |
| Pack Extra Clothes (if possible) | No drying needed | Increases weight, not always possible |
Essential Gear to Pack (All Available on Amazon)
- ✅ Sea to Summit Lite Line Clothesline – Compact, strong, and adjustable.
- ✅ Paracord 550 – Multipurpose, ultralight survival essential.
- ✅ Emergency Mylar Blanket – Reflective and heat-concentrating.
- ✅ Carabiners or Gear Clips – For improvising attachment points.
Advanced Tip: Double-Layer the Tent with a Drying Web
If your tent has space:
- Hang a second layer of tarp or plastic sheeting above your drying web to catch drips.
- This creates a mini greenhouse effect, reducing moisture while concentrating warmth.
- Ideal for extreme cold, snowstorms, or persistent rain where drying outside is impossible.
Don’t Wait for Disaster—Practice Now
Before your next trip, practice rigging your clothesline through your tent’s loops. Learn the best knots, tension tricks, and improvisations. This can’t-fail web of survival might one day keep you alive when the rain comes down and the temperature drops.
When survival is on the line, don’t just hope you’ll stay dry. Turn your compromised shelter into a drying haven with this ingenious technique.