It’s day three on a remote stretch of dirt road. You unzip your pannier, hoping for fresh cheese, and instead, you’re greeted with a warm, gooey mess. Food spoilage is a silent saboteur on long motorcycle camping trips, threatening both your nutrition and morale. Forget the obvious ice packs and coolers—those are bulky, unreliable, and often useless once you’re out of range of a store. Let’s explore unconventional methods and gear tweaks that keep perishables safe and edible in the wilderness, even on extended trips.
Thermal Nesting: Insulation That Works Without Ice
Instead of relying on coolers, use a layered insulation approach:
- Wrap perishables in reflective space blankets, with an inner layer of cloth or foam to trap cold air.
- Place food near water bottles filled with cold stream water (when available) to create a makeshift cold pack.
- Store perishables deep within your pack, away from direct sunlight and surrounded by insulating layers like clothes or sleeping bags.
Pro Tip: Use a dry bag as the outer layer to protect against moisture intrusion, especially in wet conditions.
Evaporative Cooling for the Field
Harness nature’s own cooling system:
- Wrap food items in damp cloth or bandanas, then place them in mesh bags or breathable pouches.
- Hang these bags in a shaded, breezy spot—the evaporation cools the contents without refrigeration.
- Refresh the damp cloth as needed for continuous cooling.
Ideal for: cheese, cured meats, and certain vegetables like cucumbers or carrots.
DIY Ice Packs with On-the-Go Freezing
If you can access freezing temps (like high-altitude overnight conditions or ice-cold streams):
- Use leakproof water bladders or zip-top bags, filled with water and frozen overnight.
- Pack these “ice packs” alongside perishables, but ensure they’re double-bagged to prevent leaks.
- Refresh at high-altitude stops or cold streams along the way.
Pickle It Before You Pack It
Preservation starts at home:
- Pre-pickle perishables like hardboiled eggs, vegetables, or even meats.
- Use vinegar or brine solutions, stored in leakproof containers.
- The acidity slows spoilage, and the flavor boost is a bonus on the trail.
Tip: Pack pickled items in vacuum-sealed bags to minimize spills and maximize shelf life.
DIY Cooling Cache Using Natural Resources
- Dig a shallow pit in shaded ground and line it with stones.
- Place perishables inside a dry bag, then cover with a layer of damp cloth and stones.
- This creates a rudimentary earth cooler—effective for a day or two when camping in one spot.
Salt or Sugar Cure to Buy Time
- Rub meats or fish with salt or sugar to draw out moisture and slow bacterial growth.
- Wrap in cheesecloth or muslin, then seal in an airtight container.
- This method works best for lean cuts and small portions—ideal for emergency rations.
Vacuum-Sealed, High-Fat Rations
- Vacuum seal hard cheeses, salami, and fatty cuts—they last longer without oxygen exposure.
- Use high-fat, low-moisture foods like aged cheeses or cured meats.
- Combine with insulation or evaporative cooling to extend shelf life further.
The “Rotational Pack” Technique
- Divide perishables into smaller portions, stored in separate containers.
- Rotate the containers daily—consume the ones showing early signs of spoilage first.
- Keep a daily check schedule to spot trouble early before it spreads.
Natural Antimicrobials: Field Solutions
- Wrap food in large leaves like grape or cabbage leaves—the natural oils can help deter spoilage.
- Use herbs like rosemary, thyme, or oregano, placed inside containers to release natural antimicrobials.
- Create an herbal wrap: soak cheesecloth in brine with herbs, then wrap perishables.
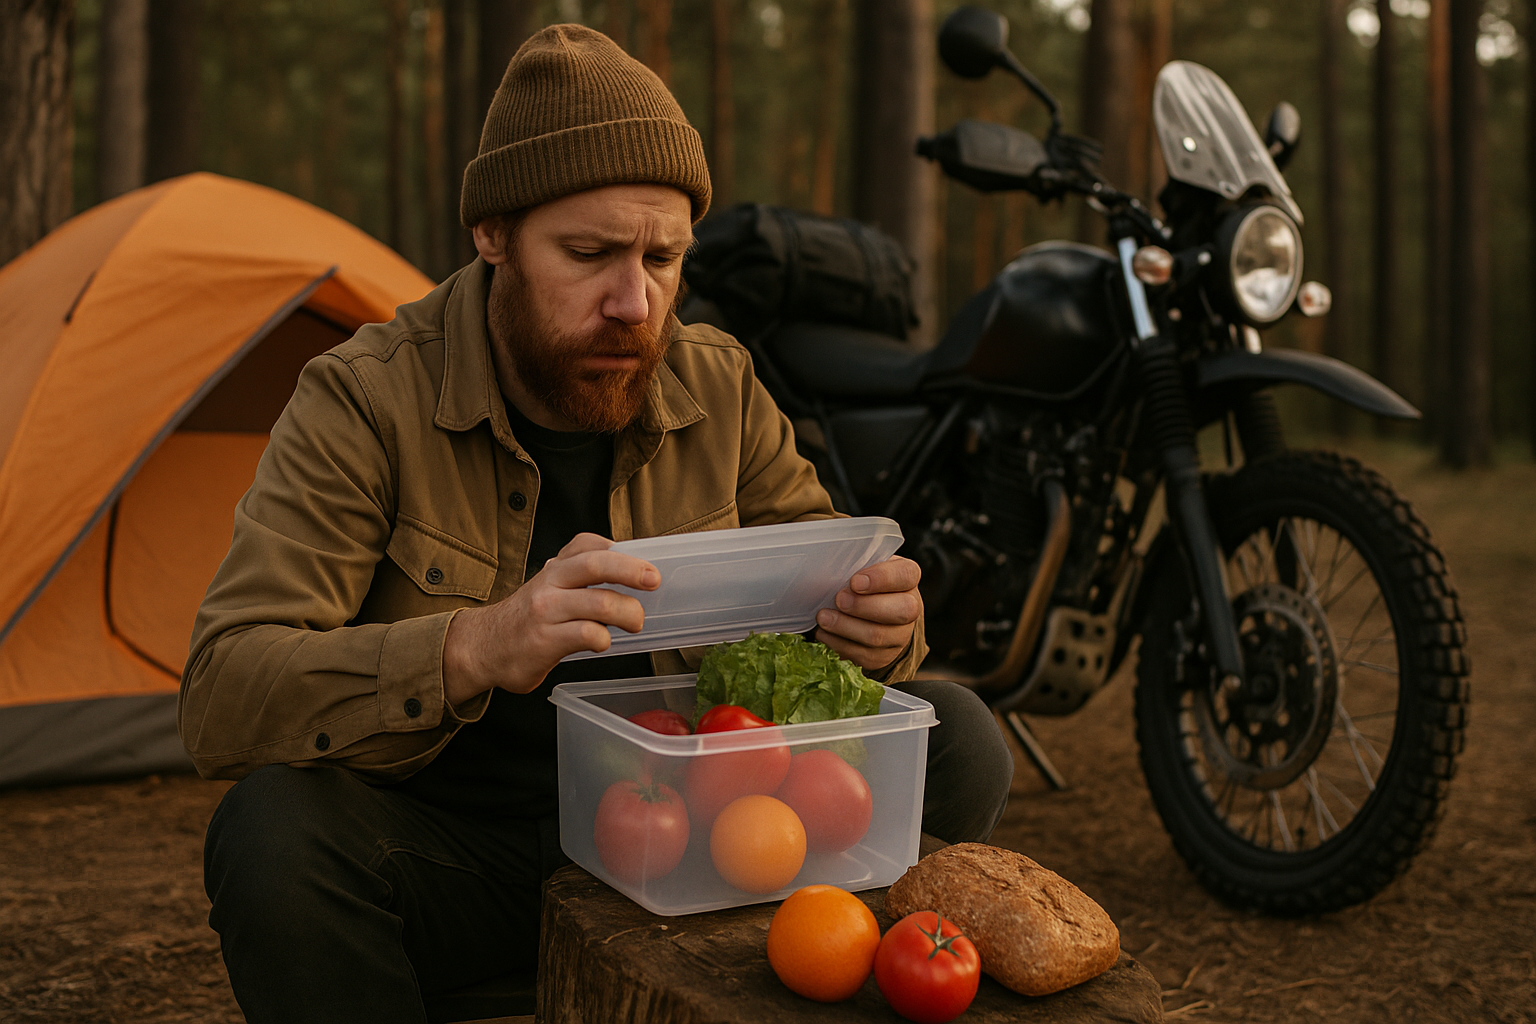
Smart Container Choices
- Use stainless steel or hard plastic containers with airtight seals to prevent contamination.
- Choose nesting containers to minimize space and separate items.
- Include desiccant packs (like silica or salt) inside containers to control moisture.
Strategic Packing Locations
- Store perishables in the coolest part of your pack—typically near the seat or frame, away from engine heat.
- Use reflective materials on the outside of your panniers to deflect sun.
- Hang food bags from branches or hooks overnight to reduce ground heat exposure and deter critters.
Field-Tested Gear Worth Packing
- Vargo BOT: A titanium container with a locking lid that doubles as a cooking pot and sealed food storage.
- PackIt Freezable Lunch Bag: Compact, foldable, and contains freezable gel built into the lining.
- Vacuum sealer bags with Ziploc tops: Allow re-sealing in camp without additional gear.
Emergency Field Preservation
If all else fails:
- Cook perishables immediately over an alternative heat source (catalytic heater, solar cooker).
- Dehydrate items over mesh screens, using sun and breeze.
- Bury high-risk items in deep, shaded pits to delay spoilage until morning.
Conclusion: Stay Fresh, Stay Fueled
Motorcycle camping isn’t just about the ride—it’s about survival and comfort. By mastering unconventional methods—like evaporative cooling, natural preservatives, and insulation hacks—you’ll keep perishables fresh without the weight and bulk of a cooler. No more food emergencies in the middle of nowhere—just smart, field-tested survival strategies that let you enjoy every bite of the journey.