As an Amazon Associate I earn from qualifying purchases.
You hang your shirt on a branch. Drape your socks on your trekking pole. Hope the breeze works its magic.
Morning comes—and everything is still damp.
If you’ve ever packed up soggy clothes, stuffed them in your dry bag, and prayed they wouldn’t mildew by nightfall… you’re not alone. One of the most frustrating parts of camping, especially for solo hikers and survivalists, is getting wet gear dry without adding weight to your pack.
The truth is, clothes rarely dry on their own overnight—especially in humid forests, alpine fog, or post-rain conditions. But with a smart ultralight setup, you can make it happen.
This isn’t a list of random hacks. This is a complete, field-tested drying system used by ultralight thru-hikers, minimalist campers, and emergency preppers who can’t afford to start the day in wet socks.
Why Drying Clothes Is Harder Than You Think
Clothes don’t dry overnight for several reasons:
- Low humidity gradient: If the air is already damp, evaporation slows.
- No air movement: Without airflow, water clings.
- Trapped heat: Inside a tent, moisture lingers. Outside, night temps stall drying.
- Material density: Wool and cotton hold moisture longer than synthetics.
This means you need more than “hope”—you need a system.
Let’s build one.
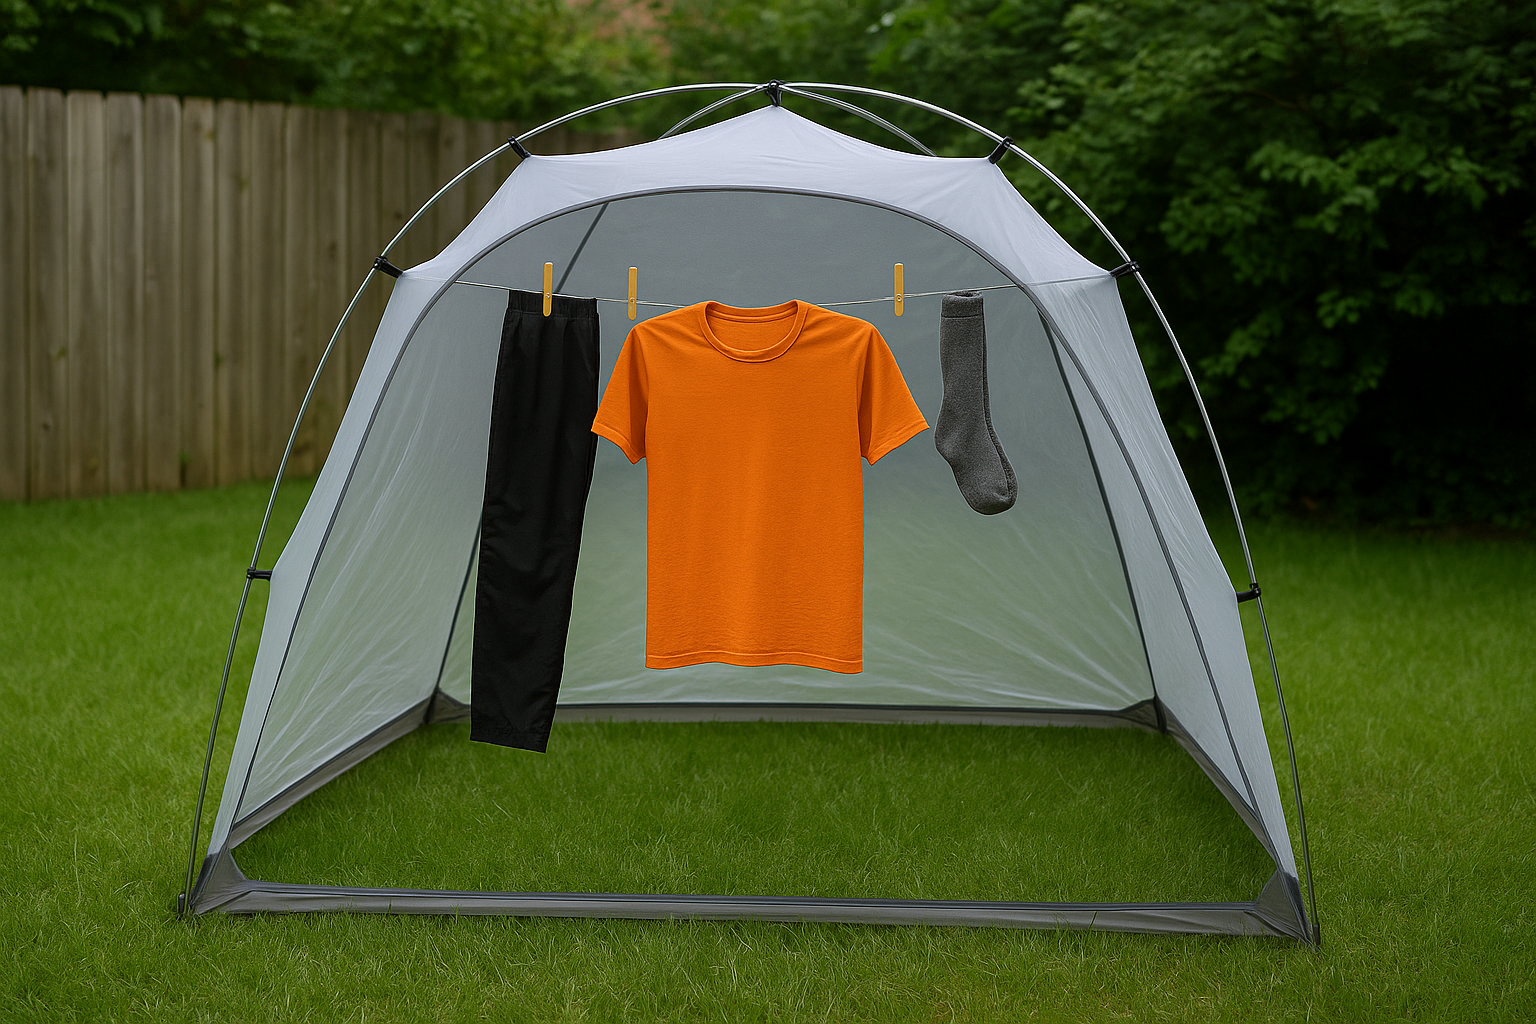
1. Ultralight Clothesline Setup (Under 2oz Total)
What You Need:
- 1x 10 ft Dyneema cord (or thin paracord) – <1 oz
- 2x Micro carabiners or lineloc tensioners – <0.5 oz
- 2x Mini clothespins or hair clips – <0.5 oz
💡 Pro Tip: Use your trekking poles, tent, or tree branches to anchor the line. No need for dedicated stakes.
Setup:
- String the line diagonally across your shelter vestibule, tent ceiling, or between trekking poles.
- If it’s not raining, hang it just outside your shelter under a tarp or tree.
- Keep it taut—saggy lines = zero airflow.

This line doubles as:
- Gear hanger
- Lantern hook
- Emergency shelter tie-down
2. Wring and Roll: The “Pre-Dry” That Actually Works
Don’t just wring and hang. That leaves 50% of the moisture inside the fabric.
Try This:
- Wring your clothing hard by hand.
- Lay it flat on a clean bandana, sit pad, or even a dry base layer.
- Roll tightly like a sushi roll and kneel or press down with your knees to squeeze out the water.
This process pulls out more moisture than wringing alone. Less moisture = faster dry time.
3. Use Body Heat for Overnight Drying (the Smart Way)
Stuffing wet clothes in your sleeping bag? Bad idea. But using your body heat strategically? Genius.
What You Can Safely Dry:
- Damp socks (on your core or thighs in a dry sack)
- Thin synthetic shirts (worn under your sleeping layer)
- Buffs or boxers (wrapped around your waist)
Use a waterproof sack or a ziplock with breathing holes to trap heat but protect your sleeping gear. Your core warmth does the rest.
⚠️ Never do this with fully soaked clothes. Only use with partially dried items after wringing and rolling.
4. Create an Overnight Air Tunnel
If your tent has two doors or vents, use them. Create a cross-breeze channel by cracking both ends open slightly.
Then:
- Hang damp clothes near the vented area
- Point your socks or waistband toward airflow zones
This simulates a mini drying tunnel—even in misty conditions.
💡 Bonus: Hang a trash bag behind the drying line to act as a wind funnel. Even a slight draft helps.
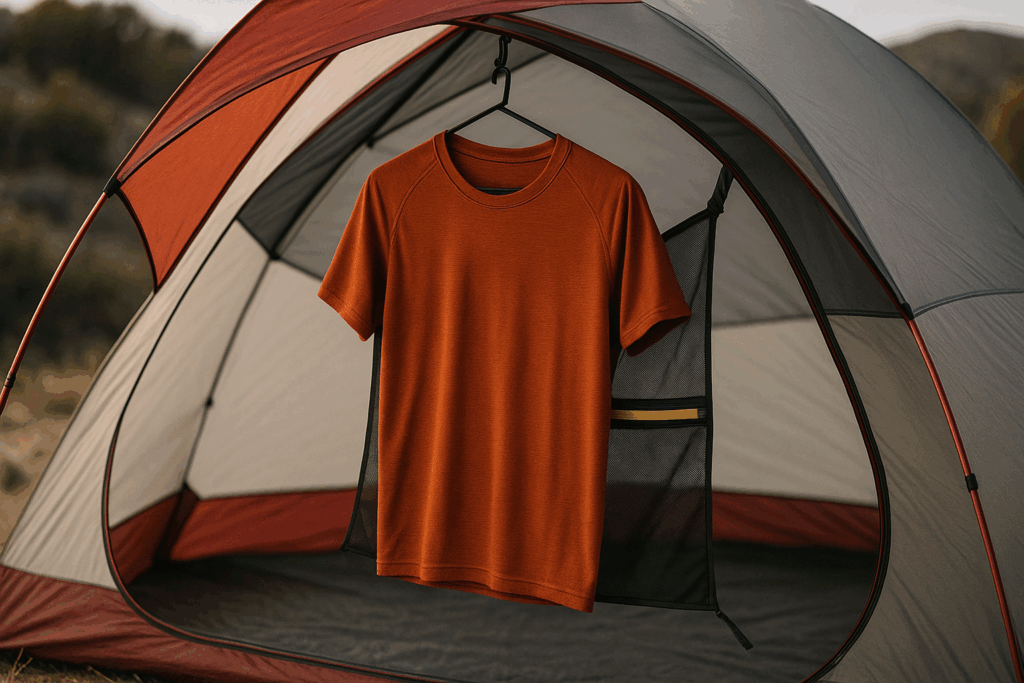
5. Use Ultralight Mesh Pouches as Drying Racks
Mesh stuff sacks aren’t just organizers—they’re drying tools.
Here’s how:
- Spread your damp item across a mesh pouch
- Clip the pouch vertically or flat to your tent line
- Flip it every 2 hours (if awake) or once overnight
This creates surface area and airflow without extra gear.
6. Pick Fabrics That Actually Dry Fast
Drying setups work best when you pack the right clothes to begin with. Avoid cotton unless it’s for sleep-only use.
Best materials for fast drying:
- Polyester blends
- Nylon-spandex (for boxers and shirts)
- Merino blends (dries slower but resists stink)
- Polypropylene (great base layers)
If your shirt stays damp for more than 10 hours, it’s the fabric—not your setup—that’s failing.
7. Hot Rocks + Dry Bags = Mini Heat Dryers
In cold conditions, this trick can help speed up drying.
Method:
- Heat smooth, dry rocks near your campfire or stove (never wet rocks—they can explode).
- Let them cool to warm—not hot to the touch.
- Place them inside a dry sack with damp socks or boxers.
- Close loosely, allowing small ventilation.
This creates a mini heat chamber that mimics a low-temp dryer.
⚠️ Monitor carefully. Never seal hot rocks in tight or place near synthetic gear that melts.
8. Set a Sunrise Drying Routine
The best way to guarantee dry clothes? Work with the sun.
Here’s a proven rhythm:
- Hang damp gear immediately after waking
- Pack last what’s drying (shirt, socks, underwear)
- Let items “solar bake” during morning coffee, breakfast, or stretching
If needed, clip socks to your backpack to dry while hiking. Use mini clips or carabiners to keep them secure in the wind.
💡 Pro Tip: Light-colored or reflective gear dries faster in sun due to better heat absorption.
9. Emergency Drying Inside the Tent
Rainy night? No airflow? No tarp?
Try the tent loft sling method:
- Hang a small towel or microfiber cloth above the drying item (acts as a moisture sink)
- Clip the damp item between two cords or pouches near the tent peak
- Use body heat + breath + minimal airflow to create a slow drying environment
This is slower, but reduces the risk of puddling or wet floors.
10. Know When to Call It and Pack Damp (The Smart Way)
Sometimes, drying fails—rain, humidity, cold. That’s survival.
Here’s what to do:
- Pack damp gear in vented mesh pockets on the outside of your pack
- Avoid sealed bags (unless separating from dry items)
- Prioritize fast-dry items for next use (keep dry backup if possible)
- Air-dry again at your next stop—don’t wait for the perfect weather
Survival is about movement. A little dampness is okay—mildew, rot, and trench foot aren’t.
Final Thoughts: Build a System, Not Just a Hope
Drying gear in the backcountry doesn’t have to be a mystery or misery.
It takes a mindset shift:
- From passive to proactive
- From haphazard to intentional
- From “hang and hope” to dry by design
With the right tools, smart fabric choices, and a reliable drying rhythm, you can wake up with gear that’s ready to wear, not wring.
Because staying dry isn’t just about comfort—it’s about warmth, safety, and peace of mind on the trail.
✅ Quick Recap:
- Use a 2oz clothesline setup with clips and paracord
- Roll + press clothes to remove excess moisture before hanging
- Use body heat for partial drying (with protective barriers)
- Optimize your tent’s airflow for an overnight drying tunnel
- Clip socks or layers to dry while hiking
- Dry smart: choose fast-drying fabrics and modularize airflow
- Use rocks, sun, and breathable mesh for passive heat drying
- Never trap wet gear—vent, hang, or wear strategically
🛒 Recommended Gear:
- Ultralight Clothesline Kit (with Clips)
- Mesh Drying Pouches for Hiking
- Dry Bag + Pillow Combo (for body heat drying)
- Mini Carabiner Set for On-the-Go Drying