You’ve made it to your campsite, but the “flat ground” promised on the map looks more like a twisted jigsaw of roots, slopes, and rocks. Now what?
Most campers panic, waste an hour hunting for that elusive perfect spot, or worse—they pitch a tent that collapses mid-storm or slides downhill at 2AM.
But here’s the truth: you don’t need perfect ground. You need the right strategy.
This post isn’t about fluff like “bring a ground tarp” or “tighten your guy lines.” You already know that. This is about terrain-hacking—how to make your tent stable, safe, and sleep-worthy when the Earth itself is fighting you.
Let’s get into real methods for setting up a tent on brutal, uneven, and uncooperative terrain.
🎯 Rule #1: Accept the Tilt—Then Control It
You’re not going to “level” the Earth with a stick or your foot. Don’t even try.
Instead, embrace the slope, and position your tent strategically.
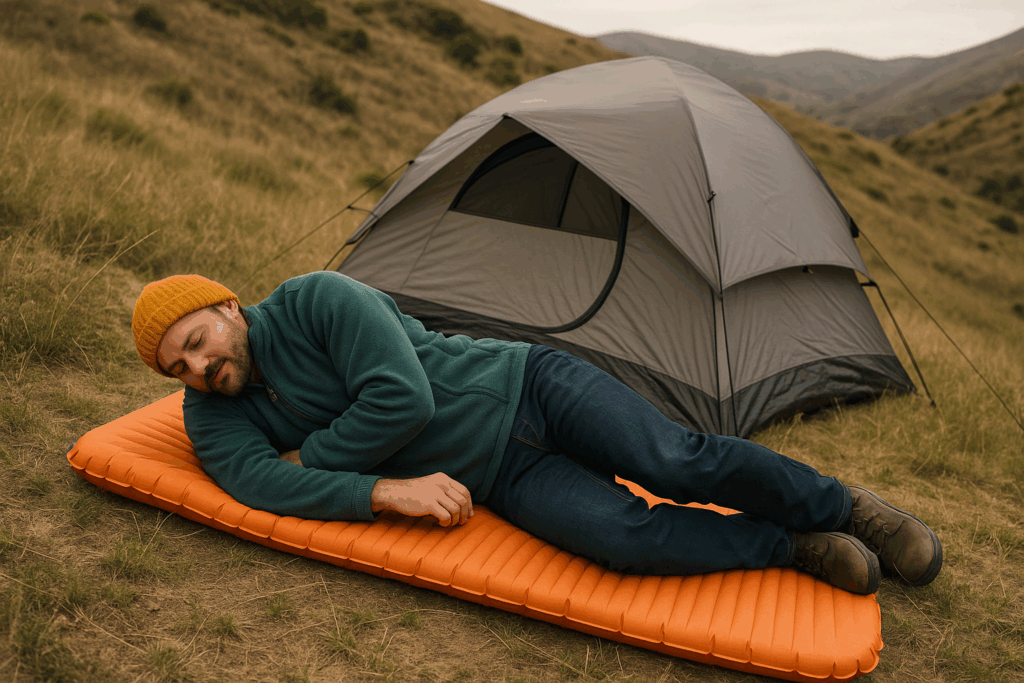
🧭 Sleep Orientation Matters
Your head should always point uphill—even on slight slopes. This prevents:
- Blood rushing to your head
- Sliding into the foot of your tent
- Neck and spine strain
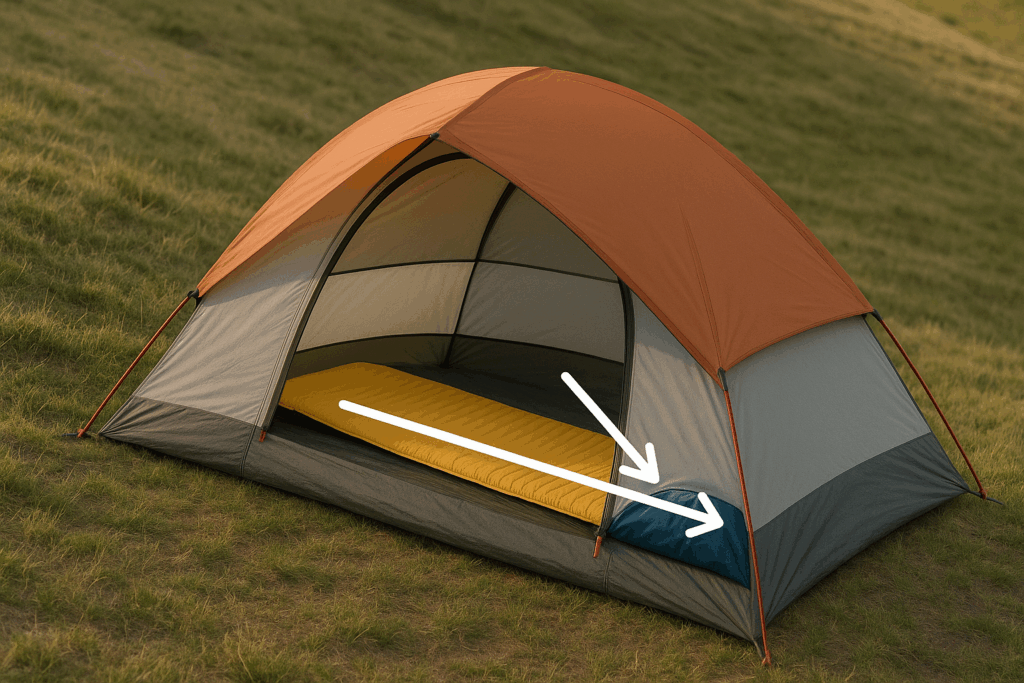
Bonus: Position your sleeping pad with extra padding or gear under your hips and shoulders to “tilt-correct” your posture, not the terrain.
🪨 Rule #2: Use Terrain Features as Anchors (Not Enemies)
Roots, rocks, dips—they’re not obstacles. They’re structural allies if you know how to use them.
🪵 Tent Between Trees = Natural Wind Brakes
On forested terrain, pitching your tent between two trees or root bulges provides instant stability. Just don’t anchor guy lines directly to trunks—they sway in wind. Instead, stake the lines around the base contour of roots or large stones.
The root system acts like a tensioned anchor plate—sturdier than loose dirt.
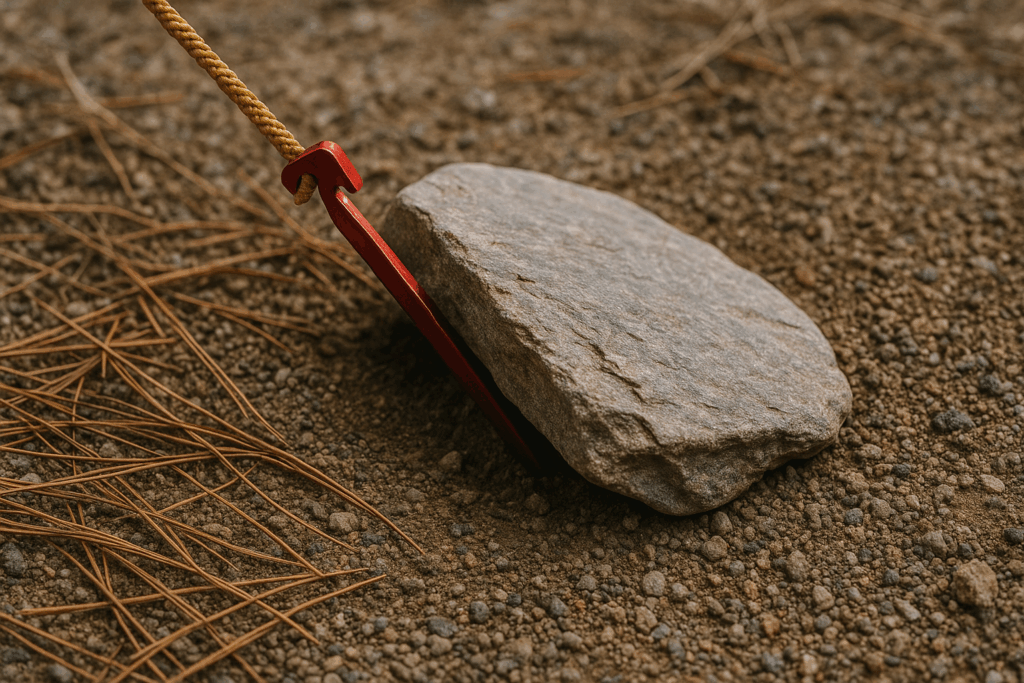
🪨 Rock Wedge Trick
If your stake won’t hold due to thin soil, place it at an angle and wedge a flat rock over it. Then stomp it with your heel. This anchors the stake and distributes pressure evenly into the slope.
🎒 Rule #3: Build a “Human Shim” System with Your Gear
Why suffer all night on lumpy ground? Use your non-sleeping gear as structural correction.
🧥 Backpack or Jacket Under Hips
If the ground slopes left-to-right, place your backpack under the downhill side of your sleeping pad to “shim” the tilt. It lifts your hips, keeps you centered, and stops you from sliding.
Use jackets, dry bags, or even extra food pouches for fine-tuning balance under your knees, head, or shoulders.
🏕️ Rule #4: Tension Is Everything (But Don’t Over-Tighten)
On uneven ground, your tent will want to wobble or twist. The fix isn’t to pull the lines harder—it’s to balance opposing tension.
4-Way Anchor Strategy:
Instead of thinking front-back, think in X patterns:
- Stake front-left and rear-right at equal angles
- Then stake front-right and rear-left
- Adjust tension evenly across diagonals
This locks the base of the tent like a suspension bridge—minimizing pitch warping caused by bumps or rocks under corners.
⚠️ Don’t over-tighten. Leave just enough slack to absorb sudden wind gusts. Over-tensioning puts strain on seams and causes tent poles to bow unnaturally.
⛏️ Rule #5: Dig and Pack… Strategically
You don’t need a shovel. You need a tent-sized footprint of cooperation from the terrain.
Micro-Carving the Ground
Use your boot heel or tent stake to gently:
- Scrape off pinecones, acorns, or gravel lumps
- Press high spots down, like raised roots or sticks
- Fill low divots with nearby dirt or leaves
Avoid deep digging—it ruins the terrain and risks making your shelter unstable.
🧠 Rule #6: Sleep Like a Spider, Not a Snail
You can’t control the ground—but you can adapt how your weight sits on it.
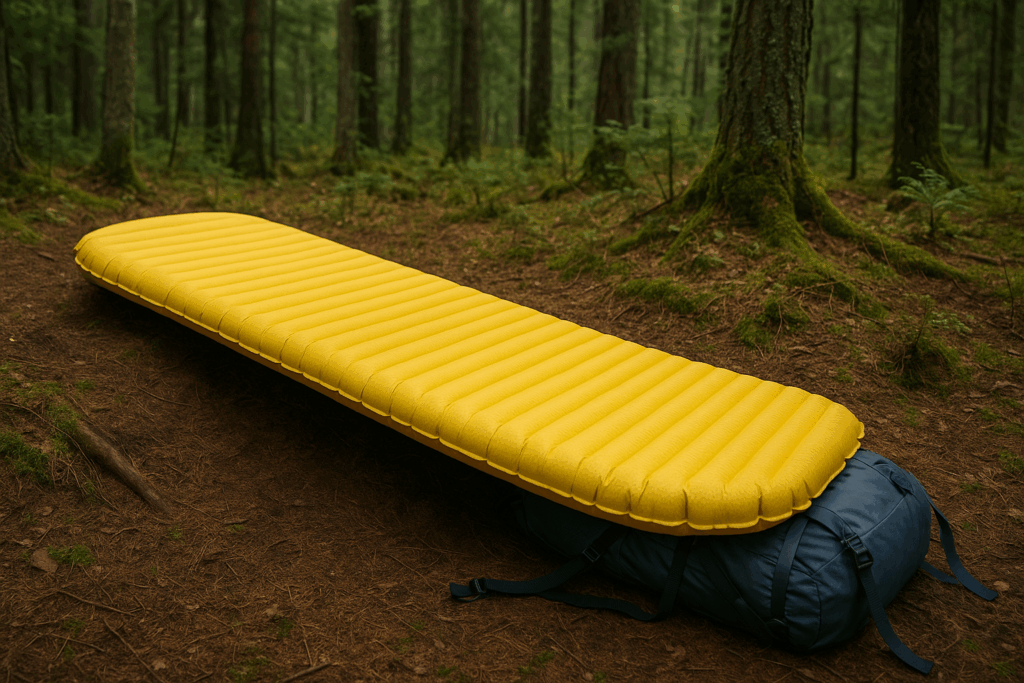
Tent Size Matters
In rugged terrain, smaller tents are superior. They:
- Distribute weight more evenly
- Fit into awkward spaces
- Respond better to micro-adjustments in tension
Tip: Solo hikers and motorcycle campers should always consider 1-person “coffin tents” or bivy-style hybrids for ultimate terrain flexibility.
🐾 Rule #7: Do the “Slide Test” Before Committing
Once you’ve anchored your tent, slide your sleeping pad into position and lay on it fully clothed. Roll side to side. Shift positions.
If you start to drift or feel “gravity pull” toward a corner—you’re not centered. Adjust your pad or shim under it with gear until you feel cradled, not dragged.
🚫 Bonus: Terrain Traps to Avoid (Even If You’re Desperate)
When the ground is chaotic, it’s tempting to say, “This looks good enough.” But avoid these terrain traps at all costs:
- Dry streambeds (arroyos): May look flat but flood without warning
- Animal game trails: Flat and clear, but high-traffic and unsafe
- Under sloped boulders or cliffs: Rockfall risk, plus water drainage zone
- Mossy patches: Too wet—your tent will soak from below
The ground doesn’t need to be perfect—but it must be predictable. Safety first, then comfort.
🎒 Sample Setup Flow for Uneven Ground
- Pick your slope: Head uphill, never sideways.
- Lay a groundsheet: Even if it’s uneven, it defines your space.
- Do the barefoot scan: Check for hidden spikes, bugs, or water pockets.
- Place gear strategically: Use bags and clothes to shim tent and pad.
- Tension with symmetry: Stake in an X pattern.
- Slide-test before sleep: Your spine will thank you.
🏁 Final Thoughts: Perfection Is the Enemy of Camp
You’ll rarely find perfect ground in the wild. The trick is to work with the terrain, not against it. By understanding slope logic, weight distribution, and natural anchors, you turn a “bad campsite” into a survival-grade shelter.
Because at the end of the day—or night—what matters isn’t whether your tent is level.
What matters is whether you can sleep safely, warmly, and without waking up sliding into the bushes.